How to fit a mortice lock
How to fit a mortice lock
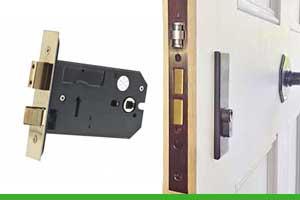
Mortice locks are great for ensuring maximum security in every household and compared to most door locks on the market, this specific lock is designed to be both sturdy and aesthetically pleasing to the consumer. Insurance companies require a five-lever mortice lock as a minimum standard.
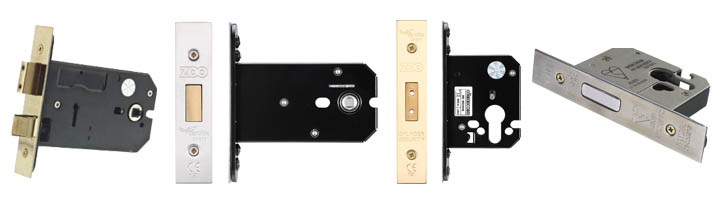
There are two variants of mortice locks known as the mortice deadlock and the mortice sashlock. The mortice deadlock is made up of two parts: bolt and keyhole, whereas the mortice sashlock is made up of three parts: bolt, keyhole and latch.
Mortice locks are installed into the edge of doors in thousands of houses, apartments and offices. For the lock to be fully effective, doors are required to be a minimum of two inches in thickness. Many security experts strongly agree that this lock is much stronger and more adaptable than any other home security lock.
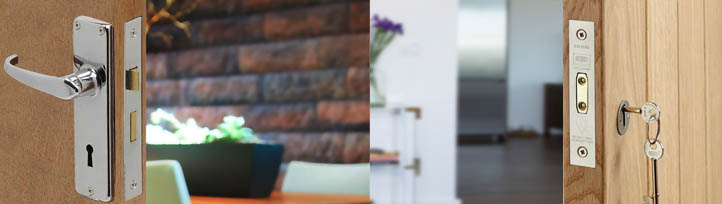
There a number of different reasons why the mortice lock is beneficial for any household. The lock can be secured from both ends meaning you can lock from either side, this is crucial for any front door. Also, purchasing a Yale lock will provide extra security for this type of doors.
Mortice locks are available in different sizes to ensure that it caters to every home. It can even be fitted in children’s rooms due to the lock having a ‘passage function’ setting. This setting allows the door to be shut without the door being locked, making this product ideal for all different ages and easy for any age group to use.
The following guide will help you fit a mortice lock at home or in any other building you might require a mortice lock to be installed.
Materials required
- Mortice lock (we recommend our best-selling 152mm brass horizontal mortice lock)
- Drill
- Chisel
- Masking tape
- Door wedge
- Set square
- Hammer
- Drill bit (as long or longer than the depth of your lock)
First, decide exactly where you want the lock to be and then measure the door’s side to make sure the mortice lock you have purchased will fit properly. If you are replacing a lock, adjust the new lock to line up with the face plate of the old lock.
If you are fitting a lock on a brand-new door measure roughly a metre from the floor for it to fit. Grab a pencil to mark the top and bottom of the lock on the door. Draw the positions of the top and bottom of the lock on the edge of the door as well and draw a vertical line between them (on the centre of the door thickness) and then, mark the width of the body of the lock.
Secure the door with a door wedge, so that the door doesn’t move about while drilling.
Use masking tape to mark the depth of your lock on a drill bit. Next, drill a series of holes along your vertical pencil line to the depth shown by the tape. Once that is completed, smooth out the sides of the lock slot by using a chisel. It is good to recognise the smoother the slot, the easier it will be to slide the body of the lock into the door.
Then position the body of the lock over the slot and use a pencil to mark the edges of the face plate. Once this is done, check that the faceplate is perfectly aligned so that you can make a recess on the edge of the door. You need to use a firm hammer and chisel to make several cuts in the wood where the plate will be set.
When the cuts have been made, use slight force to pull them out and then you will have a recess ready for your lock.
Use pressure to hold the lock in place against the front of the door and mark the keyhole. Also, make sure you mark where the handle will be. Repeat this for both sides of the door.
Drill through the door with a drill bit from both sides to make holes for the handle and keyhole, doing this prevents you from splitting the wood. For the handle, you need to make two drill holes with the larger hole on the top and smaller hole at the bottom.
When putting your lock in the slot, insert it and tap it into place with a hammer. Secure your lock by using screws and attaching the screw cover plates.
Lastly, you need to chisel out a space for the strike plate on the door frame.
This task is complex and is usually done by a professional locksmith. However, these simple instructions will safely guide you to fit your very own mortice lock and can always be used as the topic of conversation!
If you have any enquiries regarding ironmongery products, feel free to contact our team on 01376 557 561. Alternatively, email our team at info@ironmongeryexperts.co.uk.
Disclaimer
At Ironmongery Experts we strongly advise that you always take safety precautions into consideration when undertaking a DIY project. We also strongly suggest that you closely read and follow the instructions provided by the manufacturer of any building materials, products or tools you use for your projects.
We try our best to provide clear and correct instructions within our articles, so you can easily complete any DIY project you desire. However, please note that the information we provide should only be used as a guideline and that some information within the text may not be entirely accurate.
When using our articles for information and advice, please note that is your own responsibility to determine your capabilities when undertaking and executing the task you wish to complete.
Before starting a DIY task, we strongly recommend that you educate yourself of any existing building, gas, water and electrical works regulations. We believe it is in your best interest to complete further research and/or contact the necessary professional body should you have any further concerns.
We also strongly recommend that a qualified tradesperson completes the relevant safety tests and checks on any DIY you have completed.